
Website speed is a crucial factor for user experience, search engine rankings, and overall online success. With images typically comprising over 50% of a website’s data load, optimizing them can be one of the most effective ways to improve loading times. By choosing the right image formats, resizing and compressing effectively, and implementing caching and lazy loading, you can boost your site’s speed significantly. Here’s how to get started with each of these techniques:
1. Choose the Right Image Format
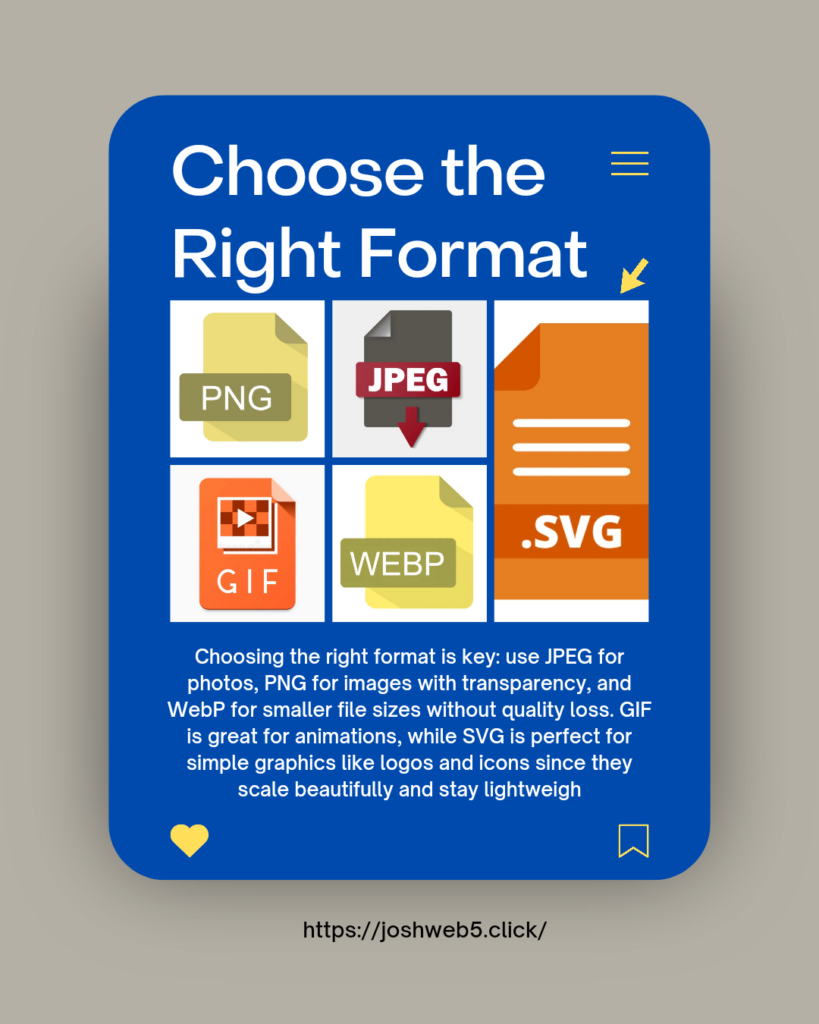
Selecting the appropriate image format is essential for striking a balance between quality and performance. Each format has its strengths:JPEG: Ideal for photographs, JPEG offers a good balance between quality and file size. It’s a go-to format for maintaining visual clarity without excessively large files.PNG: PNG is best for images with transparent backgrounds, like logos or icons. Though PNG files tend to be larger, they retain fine details and transparency, which JPEGs do not support.WebP: For maximum optimization, WebP provides a 25-34% smaller file size than both JPEG and PNG while maintaining comparable quality. It’s supported by most modern browsers and is an excellent choice for those seeking the smallest file sizes with no visible quality loss.GIF: Commonly used for animations, GIFs work well for short clips with limited colors, though they aren’t ideal for high-quality or complex images due to limited color depth.SVG: For simple graphics such as logos and icons, SVG is the perfect choice. SVG files are vector-based, meaning they’re lightweight and can be scaled without any loss of quality, making them look sharp on all devices and screen sizes.
2. Resize and Compress Images
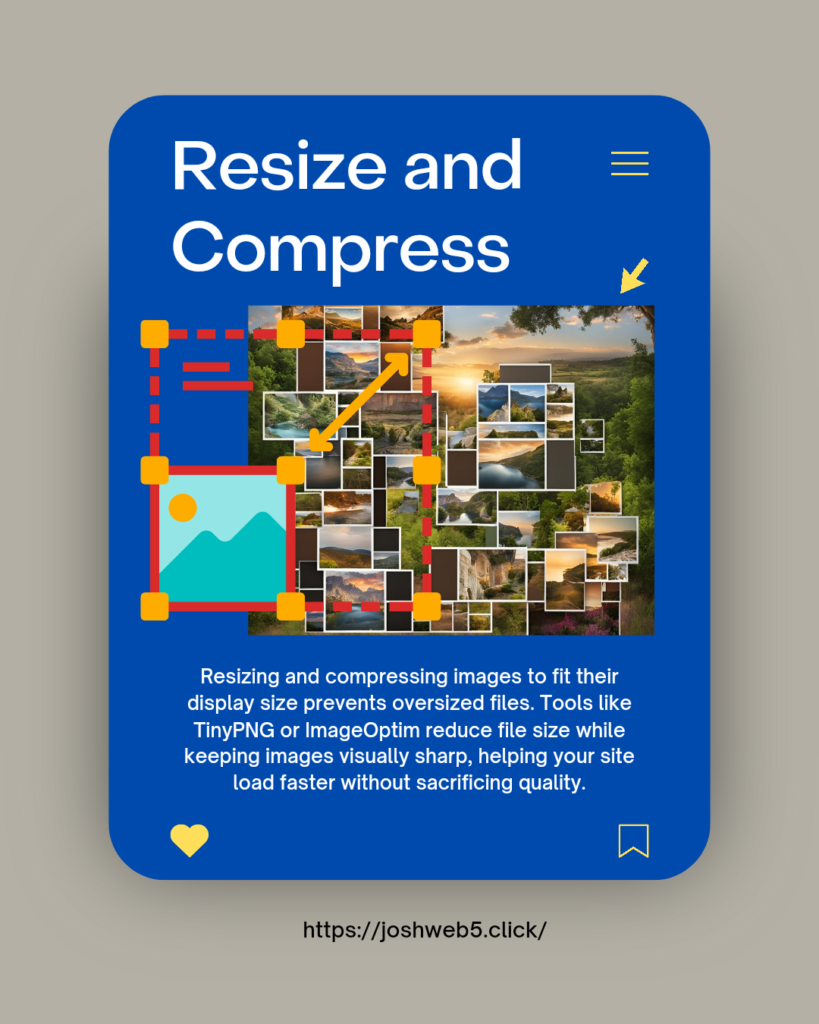
Images that are too large for their display area can drastically slow down a website. Resize images to match the exact dimensions at which they’ll display on your site—uploading oversized images is unnecessary and costly in terms of performance. Use image compression tools like TinyPNG, ImageOptim, or Adobe Photoshop’s Save for Web feature to reduce file sizes while retaining essential visual quality. For an even more refined result, consider compressing images based on device requirements, ensuring mobile visitors don’t load larger images meant for desktops.Compression reduces the weight of images by removing excess data, yet many tools allow you to control how much compression is applied. By choosing “lossy” or “lossless” compression, you can decide whether to prioritize image quality or size, depending on the use case.
3. Use Lazy Loading for Images
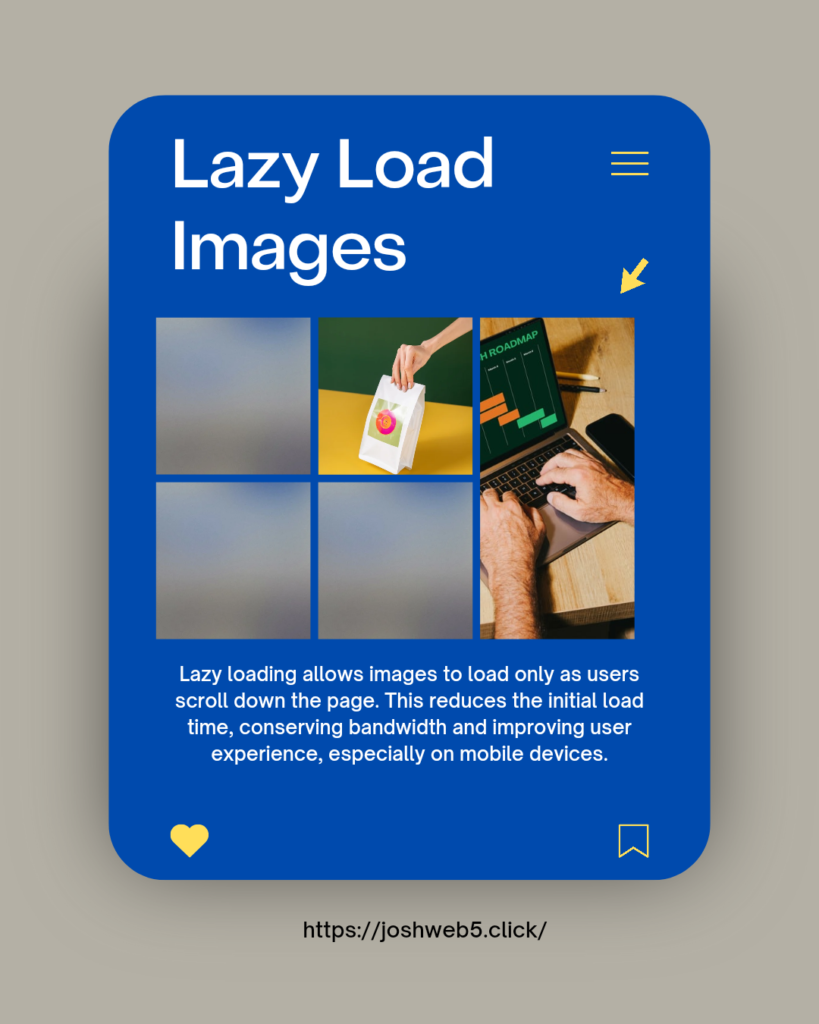
Lazy loading is a powerful optimization technique that defers the loading of images until they’re about to be viewed by the user. This means that as users scroll down the page, images load only when they come into view. This method not only improves initial page load time by reducing the number of resources loaded upfront but also conserves bandwidth, especially on mobile devices where data is limited. Implementing lazy loading is relatively simple: many platforms, including WordPress, have plugins that can handle lazy loading, or you can add loading=”lazy” to your image tags for a quick solution. This technique is particularly useful for pages with multiple images, such as e-commerce sites or galleries, where image-heavy content might otherwise slow down loading.

4. Leverage SVG for Simple Graphics
SVG files are ideal for simple graphics like logos and icons due to their vector-based structure. Unlike raster images, SVGs retain their clarity regardless of scaling, making them perfect for logos or icons that need to look sharp on both desktop and mobile screens. Additionally, SVGs are typically smaller in file size compared to high-resolution PNGs or JPEGs and load more quickly. Because they’re XML-based, SVGs are also highly customizable and can be manipulated via CSS, making them versatile assets for modern web designs.
SVG files can be created in design software like Adobe Illustrator and easily embedded on your website. Just be mindful of security—ensure you’re only using trusted SVG files, as they can potentially carry malicious scripts if sourced from unreliable sources.
5. Enable Browser Caching
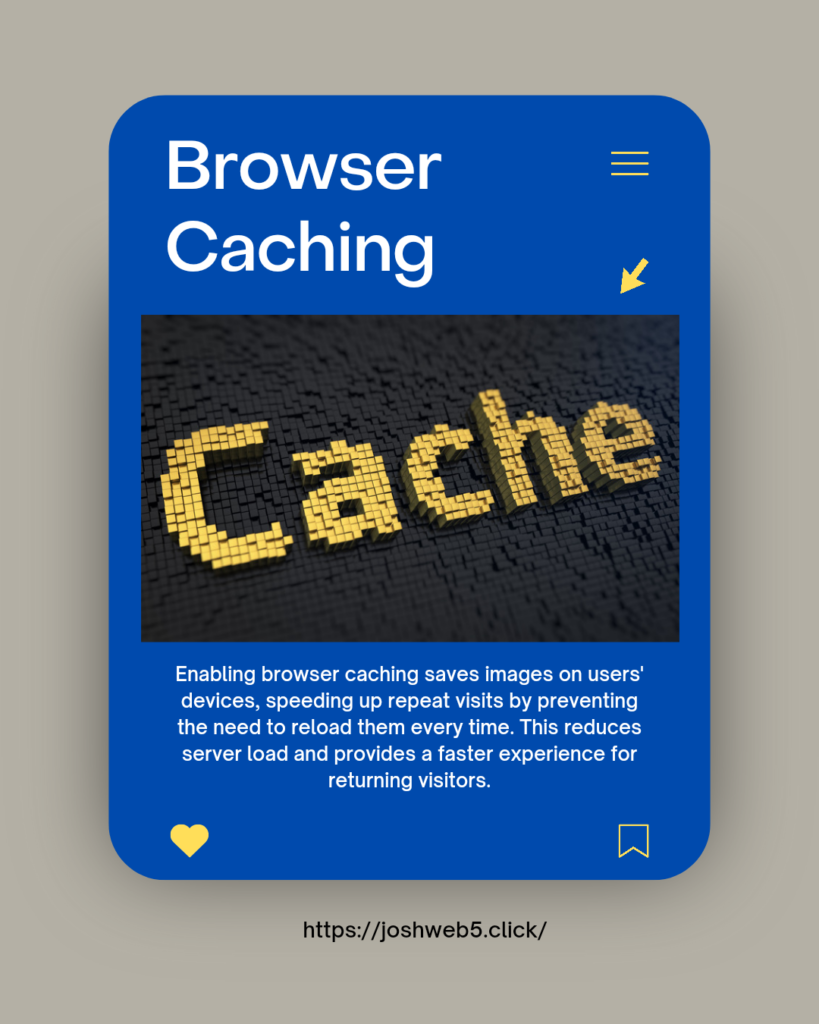
Browser caching allows images and other resources to be stored locally on users’ devices after their first visit. This enables faster load times on subsequent visits since the browser doesn’t need to fetch the images again from the server. Caching not only improves user experience for returning visitors but also reduces the load on your server, making it beneficial for overall website performance.To enable caching, set appropriate HTTP headers to define how long resources should be stored. Popular caching plugins for platforms like WordPress, such as W3 Total Cache and WP Super Cache, can simplify this process. By caching images, you’re ensuring faster access for users and better load times, particularly for resource-heavy sites like blogs or e-commerce platforms.
Conclusion
Optimizing images is one of the most effective ways to boost website performance. By selecting the right formats, resizing and compressing images, enabling lazy loading, using SVGs for graphics, and implementing browser caching, you can significantly reduce load times. Not only will this enhance the user experience, but it will also help improve SEO rankings, increase conversions, and keep users engaged.A faster website means happier users and better visibility—making image optimization a vital part of web development today. With these tips, you can ensure that your site loads quickly and efficiently, benefiting both visitors and your business.